以下介紹如何套用 Hexo 主題,以及自訂樣式:
更換主題 首先介紹 Hexo 專案架構:
1
2
3
4
5
6
7
8
9
10
11
12
13
14
15
16
. // 根目錄 ├─ .deploy_git ├─ node_modules ├─ public // 使用 hexo g 指令生成的內容 ├─ scaffolds // 模板 ├─ source // 存放原始檔案 ├─ _discarded // 已刪除文章 ├─ _drafts // 未發布文章 ├─ _posts // 已發布文章(會被 push) ├─ about // 關於我 └─ categories // 分類 ├─ themes // 存放主題 └─ landscape // 預設主題 ├─ layout, scripts, source └─ _config.yml // 修改主題設定 └─ _config.yml // 修改部落格的通用設定,例如:網站標題、網址、使用主題等
下載主題 以更換成 next 主題為例,可參考 hexo-theme-next 官方說明,將主題 clone 到本地端:
1
2
$ cd hexo $ git clone https://github.com/theme-next/hexo-theme-next themes/next
修改 /_config.yml 的 theme 設定 更多主題可以到官網的 Hexo Themes 選擇,將主題 clone 下來後,修改根目錄的 _config.yml 檔案即可套用:
自訂樣式 在更早之前的版本,是透過 _custom.styl 來自訂樣式,目前則改成 source/_data 這個路徑。
可參考這篇:NexT V7.2.0:How to change blog background?如何更改博客背景?
修改 next/_config.yml 的 Custom_file_path 設定 在 /themes/next/_config.yml 檔案,把 custom_file_path 的 style 註解拿掉:
1 2 3 4 5 6 7 8 9 10 11 12 13 custom_file_path: style: source/_data/styles.styl
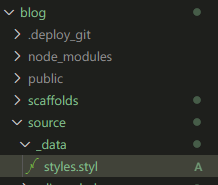
在 /source 建立 _data 資料夾 需注意這裡的 source 路徑並不是 next 主題資料夾,而是在 Hexo 專案根目錄的 source/_data,如果沒有 _data 資料夾需自行建立,並在裡面新增 styles.styl 檔案:
撰寫自訂樣式 接著就可以在 styles.styl 檔案中撰寫樣式,例如設定背景圖片:
1 2 3 4 5 6 7 body { background : url (/images/bg.jpg ); // 圖片路徑 background-repeat : no-repeat; // 不重複 background-attachment :fixed; // 固定背景 background-size : cover; // 將背景圖片放大至容器大小 background-position :50% 50% ; // 背景位置置中 }
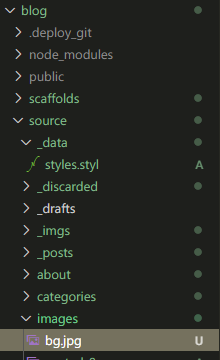
記得把圖片放到對應位置 /source/images/bg.jpg 才能讀取到:
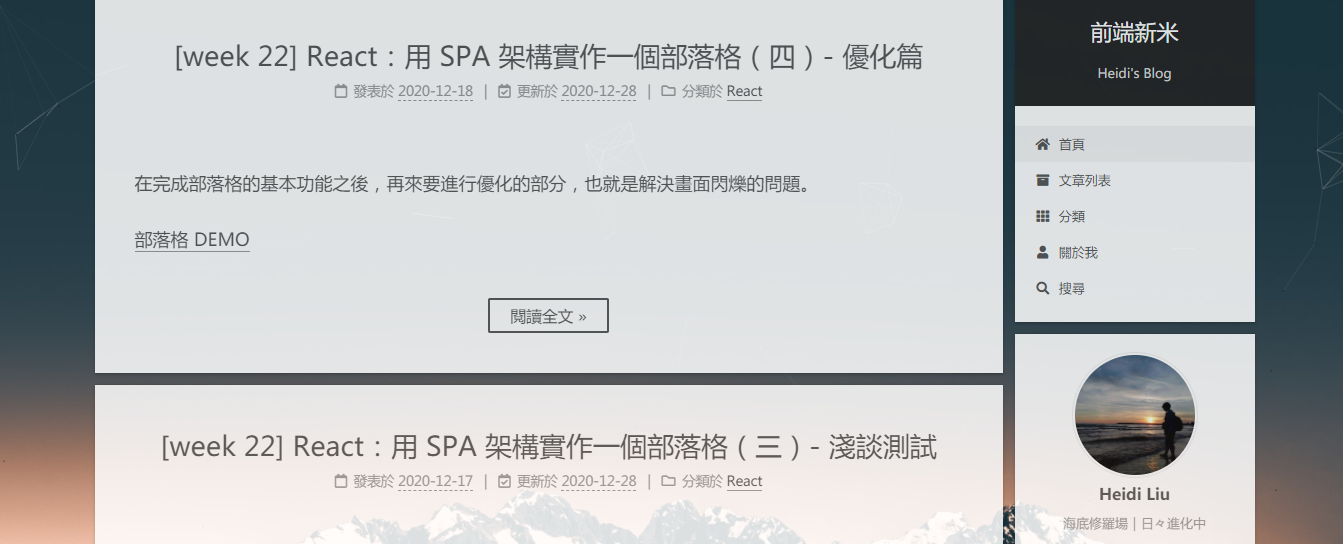
結果如下:
取消歸檔的「嗯..! 目前共有 x 篇文章。 繼續努力。」 原先看到可以把 /next/_config.yml 中的 cheers 設定為 false,但目前版本似乎沒有這個設定,後來是看到這篇文章 有提到可以直接修改 next/layout/archive.swig 檔案,把有出現 cheers 的區塊通通註解掉:
1 2 3 4 5 6 7 8 9 10 11 12 13 14 15 16 17 18 19 20 21 22 23 24 25 26 <div class="post-block"> <div class="posts-collapse"> { {%- set posts_length = site.posts.length % } {%- if posts_length > 210 % } {%- set cheers = 'excellent' % } {% elif posts_length > 130 % } {%- set cheers = 'great' % } {% elif posts_length > 80 % } {%- set cheers = 'good' % } {% elif posts_length > 50 % } {%- set cheers = 'nice' % } {% elif posts_length > 30 % } {%- set cheers = 'ok' % } {% else % } {%- set cheers = 'um' % } {%- endif % } <span class="collection-header">{{ __('cheers.' + cheers) }} ! {{ _p('counter.archive_posts' , site.posts.length) }} {{ __('keep_on') }}</span> </div>### } {{ post_template.render(page.posts) }} </div> </div>
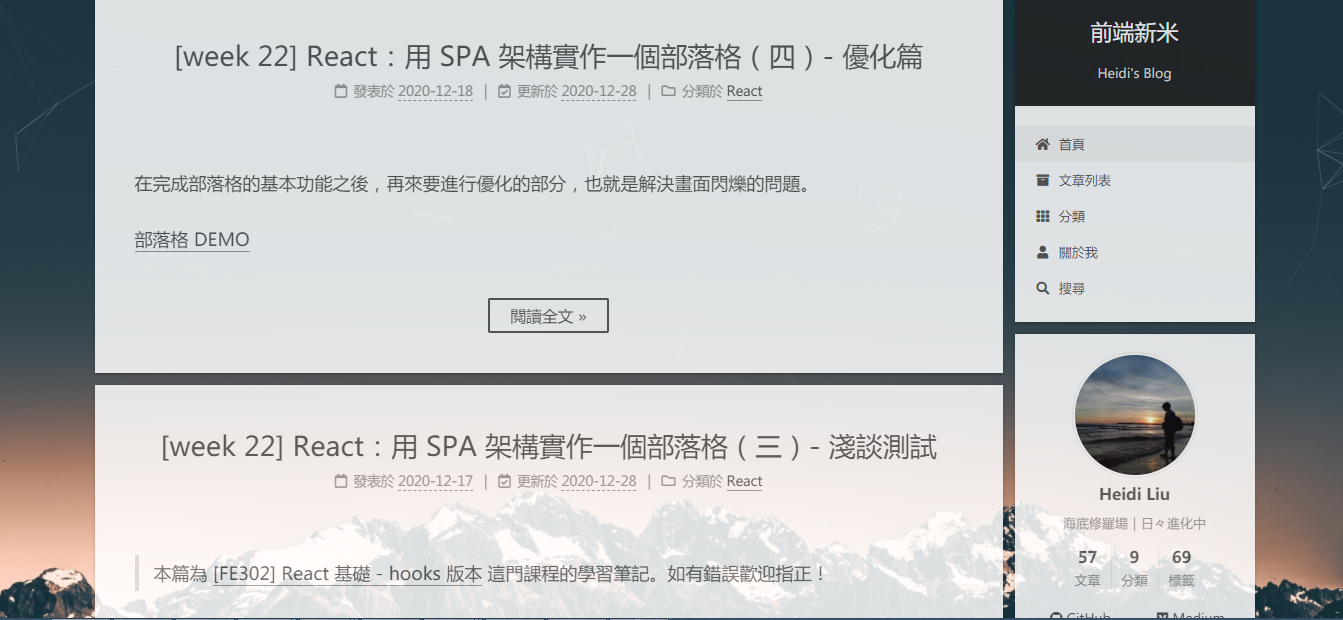
結果如下:
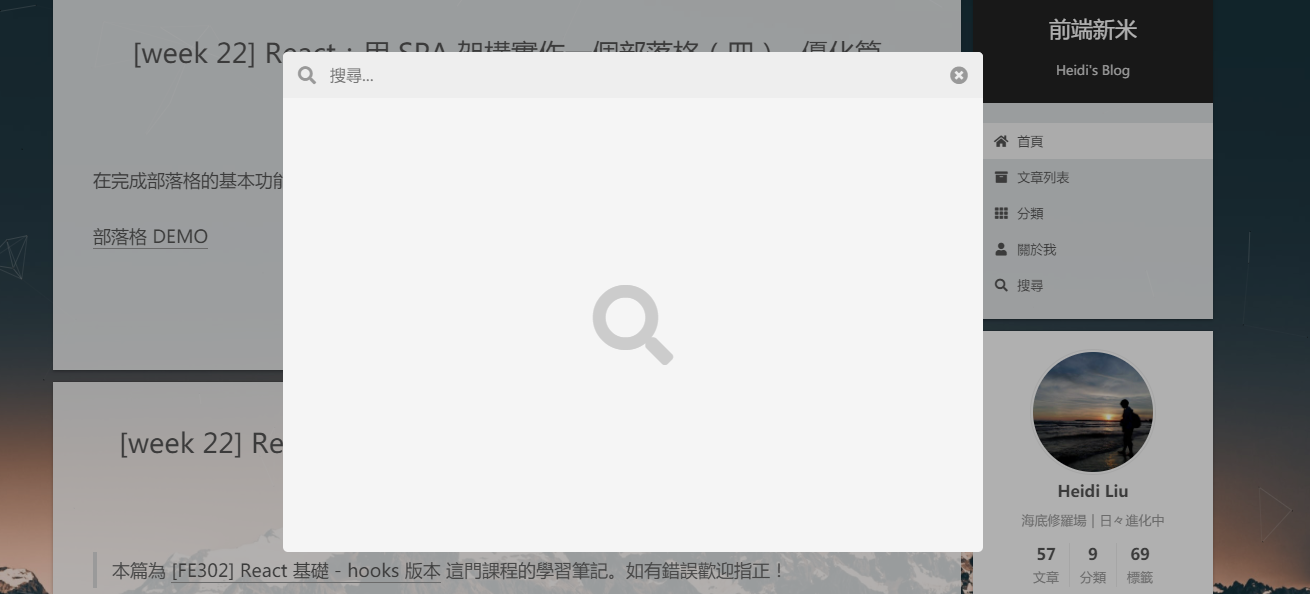
文章搜尋功能 修改 next _config.yml 的 local_search 設定 修改/themes/next/_config.yml 檔案中的 local_search,把 enable 改為 ture:
1 2 3 4 5 6 7 8 9 10 11 12 13 local_search: enable: true trigger: auto top_n_per_article: 1 unescape: false preload: false
安裝套件 1 $ npm install hexo-generator-searchdb --save
新增內容到根目錄的 _config.yml 在 _config.yml 檔案最下方加入這段內容:
1 2 3 4 5 6 search: path: search.xml field: post content: true format: html
結果如下:
結語 在之前寫的【學習筆記】如何使用 Hexo + GitHub Pages 架設個人網誌 這篇,提到該如何更換 theme 主題,到現在終於生出來XD 主要還是因為自己想要更換背景,卻忘記當初是怎麼自定義樣式的,結果又繞了點遠路,果然整理過後的知識才是自己的,寫起來就不怕忘記啦!

評論